







Blog
How to Install Winch the Right Way

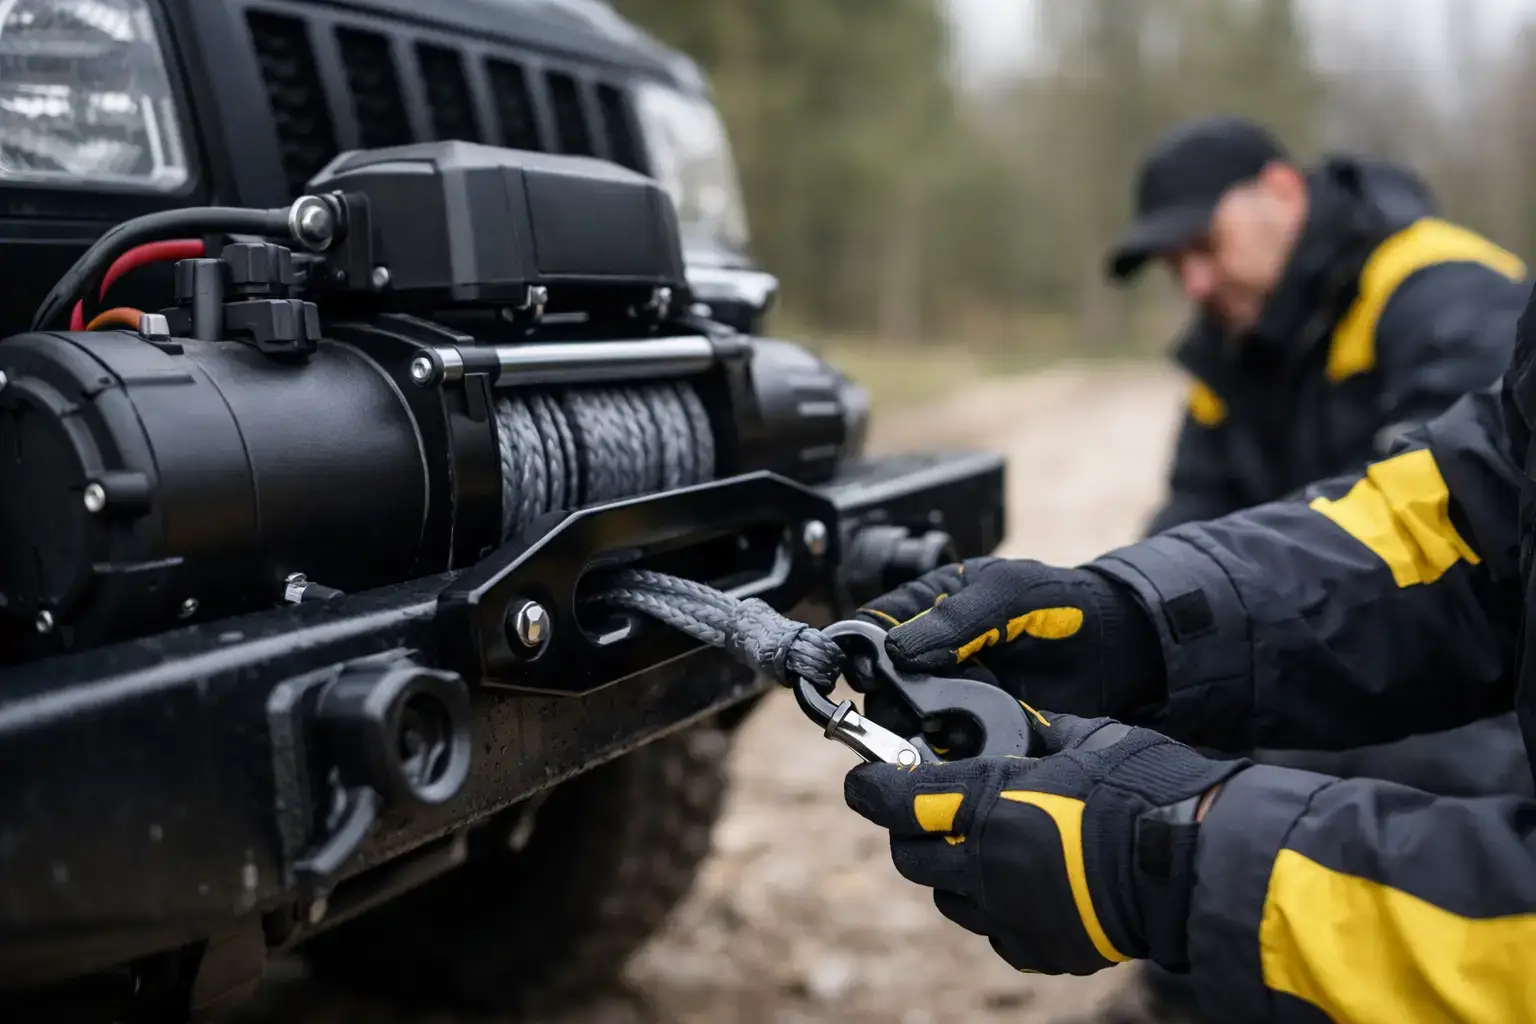
A winch is the kind of tool you do not think much about until the ground turns soft, the trailer shifts, or the vehicle stops where it should not. That is why knowing how to install winch equipment correctly matters. A bad install can damage the frame, overload wiring, or leave you with a recovery tool that fails when the pull gets serious.
If you are fitting a winch to a truck, SUV, trailer, ATV, or utility setup, the job is not complicated, but it does need to be done with care. Mounting strength, wiring protection, and line direction all matter. Get those right, and your winch is ready for real work instead of just looking the part.
How to install winch without cutting corners
The first step is matching the winch, mount, and vehicle or equipment frame. Not every bumper is winch-ready, and not every mounting plate fits every bolt pattern. Before you touch a wrench, confirm the winch capacity suits the job and that the mounting surface is rated for that load. A 12,000 lb winch mounted to weak steel is still a weak setup.
You also need to check bolt pattern compatibility. Most winches follow common mounting dimensions, but there are exceptions. If the holes do not line up exactly, do not force it and do not drill blindly into a bumper unless the manufacturer specifically allows it. The mount is part of the recovery system, not just a bracket.
Take a close look at access around the winch before installation. You need enough clearance for the drum, clutch lever, fairlead, power cables, and control box. This is where many rushed installs go wrong. The winch technically fits, but the clutch cannot be reached or the cable rubs on metal at an angle.
Before you start: tools, parts, and prep
A clean install usually needs basic hand tools, a torque wrench, battery tools, cable protection sleeves or loom, and the correct mounting hardware. Use the bolts supplied with the winch or hardware that matches the required grade and dimensions. Recovery loads are not the place for mystery bolts from a parts bin.
Disconnect the battery before wiring anything. If you are working on an ATV or UTV, give yourself enough room to route cables away from heat and moving suspension parts. On a truck or trailer, inspect the frame or mounting area for rust, cracks, or previous repairs. If the base structure is questionable, fix that first.
It also helps to read the winch manual all the way through before starting. Different control boxes, contactors, and free-spool levers can change the order of installation. Some winches want the control pack mounted directly on the unit. Others work better with a remote mount, especially when space is tight under a grille or on a compact front bumper.
Mounting the winch securely
Start by installing the mounting plate or confirming the bumper tray is correctly fitted and tightened to the vehicle. The mounting surface needs to sit flat. If it rocks, twists, or leaves gaps, the load will not be spread correctly.
Place the winch onto the mounting plate with the drum oriented as specified by the manufacturer. This matters more than some people think. The line needs to spool in the proper direction relative to the brake and drum design. If you mount it backward and try to compensate by rerouting the rope, you can create brake problems or unsafe spooling.
Insert the mounting bolts and hand-thread them first. Do not tighten one corner fully before the others are started. Once everything is aligned, tighten the bolts evenly and torque them to spec. Over-tightening can damage threads or deform the mount. Under-tightening can let the unit shift under load.
After that, install the fairlead. Roller fairleads are common with steel cable, while hawse fairleads are typically used with synthetic rope. Mixing the wrong fairlead with the wrong line type is a mistake that wears components faster and can damage the rope or cable.
Check the path from the drum to the fairlead. The line should run straight and clear without rubbing the bumper, plate, or guard surfaces.
Control box placement matters
If your winch uses a separate control box, mount it where it stays protected from direct spray, impact, and excessive engine heat. It should also be accessible for service and easy to connect to the remote control plug. Hidden is fine. Hard to reach when conditions are bad is not.
On some installs, relocating the control box improves airflow and gives cleaner cable routing. That can be the better choice on tight engine bays or recessed winch bumpers. The trade-off is longer cable runs, which means you need to route and secure those cables carefully.
Wiring a winch the safe way
This is the part that deserves patience. Winches pull serious current, especially under heavy load. Loose terminals, undersized cables, or poor routing can lead to voltage drop, overheating, or electrical failure.
Run the positive and negative cables exactly as the manufacturer recommends. Keep them away from exhaust parts, sharp edges, steering components, and any pinch points. Use protective loom or abrasion sleeve where the cables pass near metal. Secure them with clamps or heavy-duty ties so they cannot sag or chafe over time.
Connect the cables to the control box and motor terminals according to the labeled posts. Double-check each connection before connecting battery power. Reversed connections can damage the system immediately.
When routing to the battery, use the shortest practical path without creating tight bends. Attach the main positive and negative leads firmly to clean battery terminals. If the battery is old, weak, or undersized for the winch load, expect poor performance. A winch can only work as well as the electrical system feeding it.
On larger vehicles, a battery in good condition is often enough for occasional recovery use. On setups that see repeated pulls, frequent field work, or cold-weather operation, stronger battery capacity and healthy charging performance become much more important. Voltage loss shows up fast when temperatures drop.
Grounding and corrosion control
A direct negative cable to the battery is usually the best choice. Frame grounding can work in some systems, but direct battery grounding is more dependable for high-current winch use.
Once the terminals are tight, protect them from corrosion. Moisture, road salt, and mud will work against every connection on the front end of a vehicle. A clean electrical install lasts longer and gives fewer problems when recovery conditions are already rough.
How to install winch line and do the first spool correctly
Once the winch is mounted and wired, do not assume it is ready for full load. The first spool matters. If your winch came with synthetic rope or steel cable already attached to the drum, inspect that attachment point and the first wraps before use.
Disengage the clutch and pull the line through the fairlead. Re-engage the clutch, then power the line back onto the drum under light tension. This helps the rope or cable lay evenly and reduces the chance of lower wraps getting trapped or crushed later.
With steel cable, watch for kinks and gloves are a must. With synthetic rope, keep it clean, avoid sharp edges, and make sure the fairlead surface is smooth. Synthetic rope is easier to handle and lighter, but it does not like abrasion or heat. Steel cable takes abuse differently, but it is heavier and harder on hands and surrounding parts.
That is one of the main trade-offs when setting up a winch. Synthetic is often the better choice for off-road recovery and easier field handling. Steel can still make sense for hard-use utility work where abrasion resistance and lower cost matter more.
Final checks before real use
Test the winch with no load first. Run the drum in and out, confirm the remote works correctly, and listen for anything unusual. The line should spool in the right direction, the clutch should engage fully, and the control box should respond without delay.
Then inspect every fastener and cable route again. Look for contact points, stretched wiring, and any movement in the mount. A short test pull on level ground can help confirm the setup is stable before you depend on it in mud, snow, timber, or on a trailer ramp.
If the winch is mounted on a road vehicle, make sure it does not block airflow excessively, interfere with lights, or create clearance problems with the grille or plate area. On ATVs and UTVs, cycle the suspension and steering to make sure nothing contacts the wiring or winch body at full movement.
Common installation mistakes to avoid
Most winch problems start with a few predictable mistakes. The first is weak mounting. The second is bad wiring. The third is poor line alignment through the fairlead.
Another common issue is ignoring maintenance after installation. Bolts loosen, terminals corrode, and rope gets damaged. A winch that sits exposed through rain, snow, grit, and washdowns needs periodic inspection if you expect it to work on demand.
If your setup includes a wireless remote, test that too, but do not rely on it alone. Wired control remains the more dependable backup when batteries fail or signal issues show up. For equipment expected to work in cold, wet, or remote conditions, simple and proven usually wins.
A winch is recovery gear, not decoration. Install it like it will be needed in the worst spot, in bad weather, with no second chance to fix mistakes. That mindset usually leads to a better install and a tool you can trust when the pull gets real.
