





Blog
How to Replace Pressure Washer Seals Safely

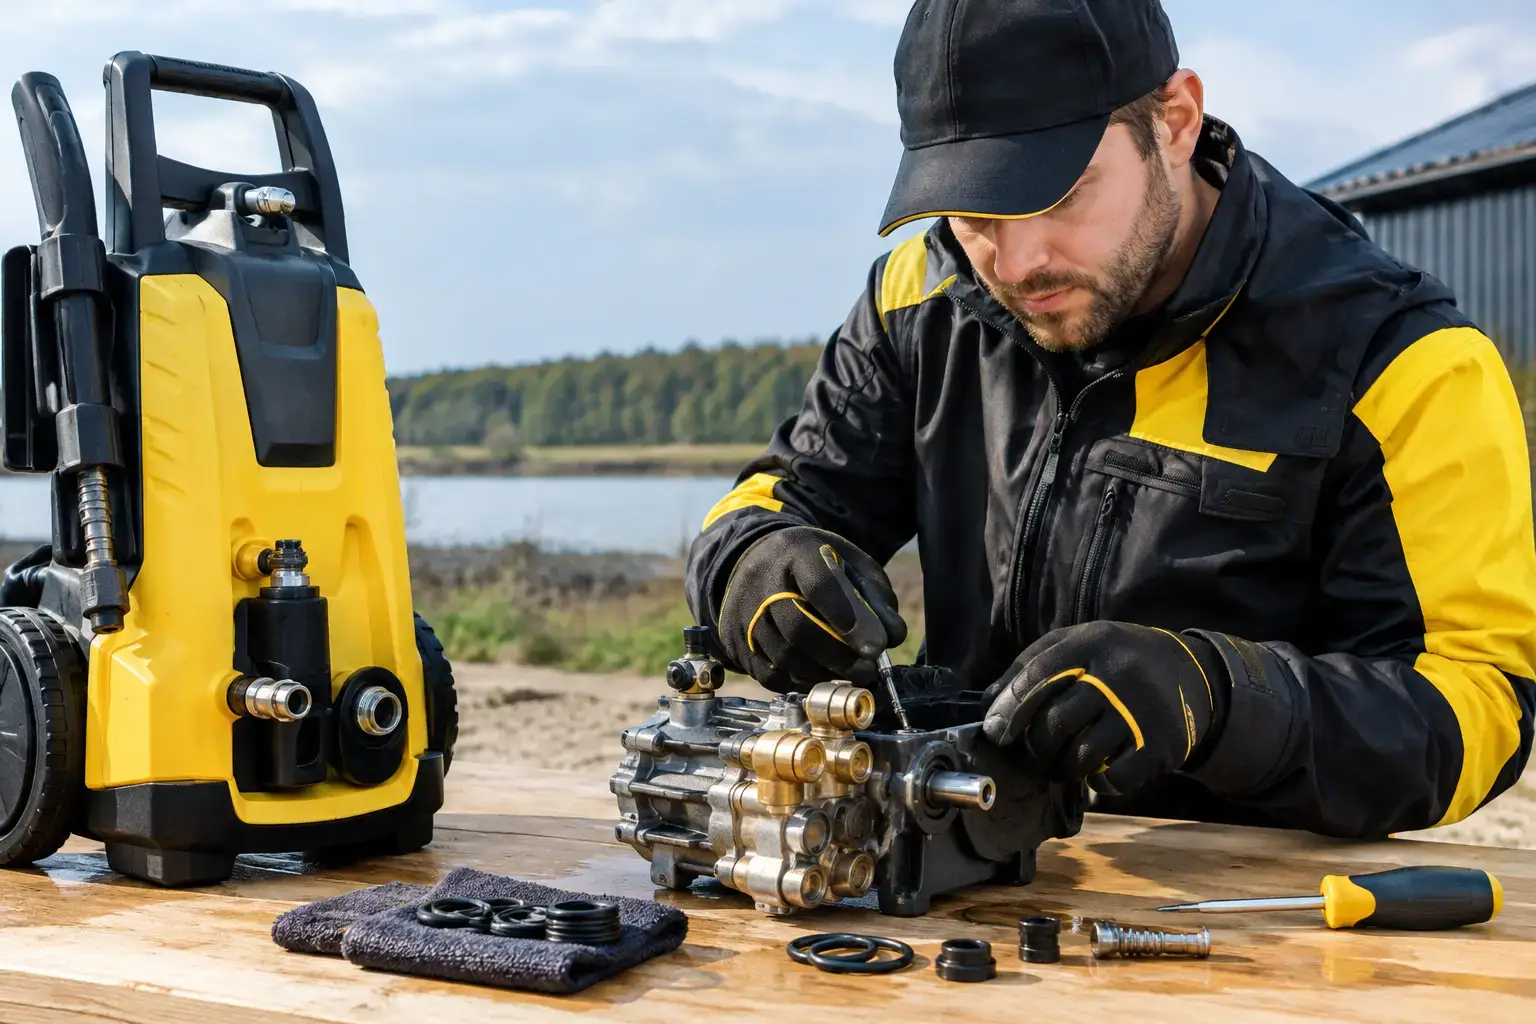
A pressure washer that loses water at the pump, wand, hose connection, or trigger gun is not just messy. It loses cleaning power, wastes water, and can turn a straightforward job into downtime. Knowing how to replace pressure washer seals lets you stop small leaks before they damage the pump or leave your equipment unreliable when work needs to get done.
Most seal failures are routine wear, not a sign that the entire machine is finished. High-pressure water, heat, detergent, vibration, dry running, and winter storage all take their toll on O-rings, water seals, and packings. The right replacement part and careful installation can put a dependable pressure washer back in service without replacing major components.
Find the Leak Before You Replace Anything
Do not start taking the pump apart until you know where the water is escaping. A loose fitting, worn hose washer, cracked quick-connect collar, and failed pump seal can all look similar at first glance. Clean the outside of the machine, connect the water supply, and run water through it with the engine or motor off. Then inspect each connection for drips.
A leak at the garden hose inlet is commonly caused by a flattened inlet screen washer or O-ring. Water spraying around a quick-connect fitting often points to a worn O-ring inside the female coupler. A trigger gun that leaks from the front of the handle may need internal seals or a valve repair kit. If water comes from the bottom of the pump or between the pump and engine, the problem is more likely an internal water seal, oil seal, or damaged pump component.
Pressure washer pump leaks deserve more attention than connection leaks. Continuing to run a pump with failed internal seals can allow water into the crankcase on oil-lubricated pumps, dilute the oil, and damage bearings or pistons. On maintenance-free axial pumps, a major leak can signal that replacement is more practical than a full rebuild.
Shut Down and Depressurize the Machine
High-pressure equipment does not forgive shortcuts. Before servicing any seal, shut off the engine or unplug the electric unit. Turn off the water supply, squeeze the trigger to release trapped pressure, and disconnect the hose and spray gun. Let a hot machine cool before handling the pump or fittings.
Wear safety glasses, especially when removing quick-connect parts or opening a pump assembly. Small springs, valve pieces, and clips can move unexpectedly. Keep the work area clean and use a tray or cloth to hold removed parts in order. Dirt introduced during seal replacement can score a fitting or contaminate the pump.
If your washer uses an engine-driven pump, remove the spark plug wire as an extra safeguard against accidental starting. For electric models, keep the plug visible and away from standing water while you work.
Match the Seal to the Exact Component
The most common mistake is buying a seal that looks right but is not rated for the machine, detergent, pressure, or temperature. Pressure washers use several types of seals, and they are not interchangeable just because their outside diameter appears close.
An O-ring in a quick-connect fitting is usually a simple service item. It must match the groove diameter and thickness, while also being compatible with water and cleaning chemicals. A garden hose inlet washer is different again: it is a flat washer designed to seal at low inlet pressure, not a high-pressure O-ring.
Pump water seals and oil seals are more specialized. They must match the pump model, piston diameter, and seal stack arrangement. Ceramic pistons, brass manifolds, triplex pumps, and axial pumps can use very different repair kits. Check the pressure washer model number and pump identification plate before ordering parts. When possible, compare the removed seal and exploded parts diagram with the replacement kit.
Material matters as well. Buna-N is common for general water and oil use. Viton-type materials handle higher temperatures and many chemicals better, but they are not automatically the best choice for every pump. Use the material specified by the equipment manufacturer. A cheaper, incorrect seal can fail quickly and create more work than it saves.
How to Replace Pressure Washer Seals at Connections
External seals at couplers, lances, hoses, and inlet fittings are usually quick repairs. Start by removing the fitting carefully. On quick-connect couplers, use a small pick to lift the old O-ring out of its groove. Do not scratch the brass, aluminum, or plated surface. Even a light groove can create a leak path under pressure.
Wipe the groove clean with a lint-free cloth. Inspect the fitting for corrosion, scoring, cracks, or a distorted retaining collar. If the metal is damaged, a new O-ring alone may not solve the leak.
Apply a very light coating of silicone-based plumber’s grease or seal lubricant that is safe for the seal material. Avoid petroleum grease unless the manufacturer specifically approves it. Too much lubricant collects grit, while installing an O-ring dry can twist or cut it. Roll the new O-ring into place without stretching it excessively, then reassemble the fitting and test it first at low pressure.
For a hose inlet washer, remove the old washer from the female hose connection, clean the seat, and press in the replacement washer evenly. If the inlet filter is dirty, clean it at the same time. Restricted water flow can cause pump cavitation, which creates vibration and can shorten seal life.
Replacing Internal Pump Seals
Internal pump seal replacement is a more involved repair. It is worthwhile on serviceable triplex pumps and certain high-quality axial pumps, particularly when the rest of the machine is in good condition. But it depends on the cost of parts, the age of the washer, and whether pistons, valves, or the manifold are damaged.
Begin with the pump manual for the specific model. The general process involves removing the pump manifold or head, sliding it straight off the pistons, removing old seal assemblies, cleaning the bores, and installing new seals in the exact order and orientation required. Water seals often have lips, backup rings, springs, or retainers that must face a particular direction. Installing one backward can cause an immediate leak or poor pressure.
Never pry hard against ceramic pistons. Ceramic is durable in service but can chip if struck or twisted. Inspect each piston for cracks, scratches, or mineral buildup. A damaged piston will quickly destroy a new seal, so replacing seals without addressing piston damage is false economy.
Use only the recommended lubricant during assembly. Some kits require silicone grease on specific O-rings, while other seals should be installed clean and dry. Tighten manifold bolts gradually in a cross pattern to the manufacturer’s torque specification. Uneven tightening can distort the manifold and prevent the seal stack from seating correctly.
After reassembly, connect the water supply and purge air through the system before starting the engine or motor. Hold the trigger open while starting, then test the washer at low load. Check for leaks around the manifold, pistons, fittings, and oil area before returning to full-pressure work.
Signs You May Need More Than New Seals
A seal kit will not repair every pressure problem. If the washer pulses heavily, loses pressure only when the trigger is released, makes grinding noises, or has milky pump oil, inspect beyond the seals. Sticking check valves, a worn unloader valve, a cracked manifold, frozen pump damage, or an inadequate water supply can produce similar symptoms.
Oil leaking from the pump side may indicate a failed oil seal, but it can also point to worn bearings or excessive crankcase pressure. Water in the oil is a warning sign to stop using the machine until the cause is repaired. Running it further can turn a seal job into a complete pump replacement.
For compact consumer washers with non-serviceable pumps, replacing the pump assembly may be the sensible choice. For a work-ready machine with a brass-head or triplex pump, quality seals and valves are often a cost-effective repair that extends its service life.
Make Replacement Seals Last Longer
Seal life is strongly affected by how the washer is used and stored. Always provide a clean, steady water supply before starting the machine. Never run the pump dry, even briefly. If you use detergent, flush the system with clean water afterward so chemicals do not sit in the seals, gun, and hose.
Cold weather requires extra discipline. Drain water from the hose, gun, and pump after use, then protect the pump with pump saver or antifreeze formulated for pressure washers when freezing temperatures are possible. A frozen pump can crack the manifold and push seals out of position. That is a much more expensive failure than routine maintenance.
Inspect quick-connect O-rings regularly, especially on equipment used around sand, mud, and dusty work areas. Keeping a small set of correctly sized external O-rings and inlet washers on hand is practical preparation. These inexpensive parts can keep a cleaning job moving instead of stopping it over a minor leak.
A pressure washer earns its place by delivering pressure when you need it. Treat seals as normal maintenance items, use parts matched to your pump and fittings, and address leaks early. The result is less downtime, safer operation, and equipment ready for the next driveway, farmyard, vehicle, or jobsite cleanup.
